After reading this tutorial, you will be able to set up a structured, step-by-step training plan that teaches your dog to walk past other dogs on leash without lunging, barking, or dragging you sideways. You will know how to measure the right starting distance, what to do when another dog appears unexpectedly, and how to tell when your dog is ready to move closer.
The steps below are written for a beginner handler working with a dog that is friendly but overexcited, or a dog that barks and pulls when it sees other dogs at a distance. If your dog has a bite history, freezes and cannot be redirected, or shows fear-based aggression, work with a qualified trainer or behaviorist before starting — the plan here is a foundation, not a substitute for professional assessment.
One number worth keeping in mind as you read: most leash-reactivity cases improve noticeably within four to eight weeks of consistent daily practice in short sessions, provided the dog is kept under threshold. The steps below are built around that principle.
Step 1: Understand What You Are Training (It Is Not “Ignoring Other Dogs”)
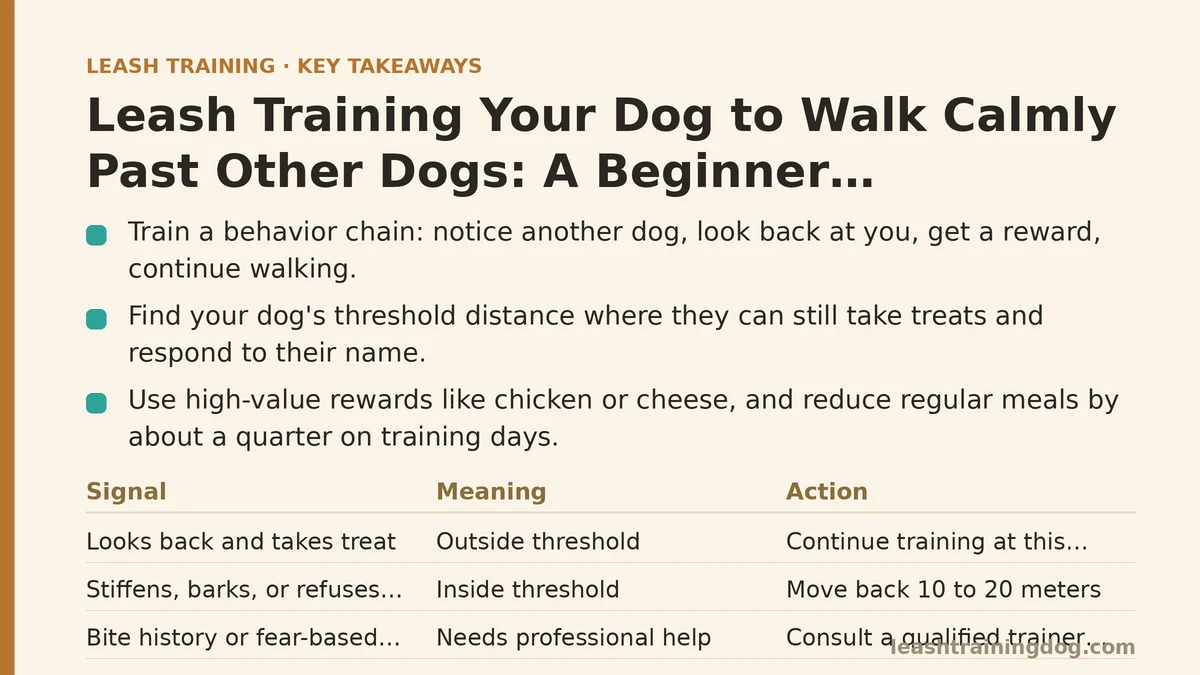
Before touching a leash, get clear on the goal. You are not training your dog to be indifferent to other dogs forever. You are training a specific behavior chain: notice another dog, look back at you, receive a reward, and continue walking without an emotional explosion.
This matters because many owners accidentally train the opposite. If you tighten the leash, hold your breath, and drag your dog past another dog while it is already overexcited, your dog learns that other dogs predict tension and restraint. The result is that the sight of another dog becomes a warning sign rather than a neutral event.
A useful mental model is the “threshold” — the distance at which your dog can still see another dog, notice it, and remain able to eat a treat and respond to their name. Inside that distance, learning shuts down. Outside it, learning is possible. Every step below is about working just outside the threshold and moving it gradually closer over weeks.
How to find your dog’s starting threshold:
- Pick a spot where dogs pass at a distance — a park edge, a wide sidewalk, a parking lot near a trail entrance.
- Watch your dog as a dog appears. If they can look, then look back at you when you say their name, and take a treat, you are outside threshold.
- If they stiffen, whine, bark, lunge, or refuse food, you are inside threshold. Move back 10 to 20 meters and try again.
- Note the distance in paces. That is your working distance for the next one to two weeks.
Step 2: Set Up a Reward That Beats the Distraction
A common beginner mistake is using the same kibble the dog gets at dinner and expecting it to compete with another dog 20 meters away. It will not. You need a reward with a real edge for this specific training.
Typical high-value options owners report working well include small pieces of cooked chicken, cheese, freeze-dried liver, or a squeeze tube of wet food. Keep pieces pea-sized so you can reward frequently without overfeeding — roughly 30 to 50 small pieces per session is common, which is why you should reduce the dog’s regular meal on training days by about a quarter.
A quick test: offer the reward at home in a quiet room. If your dog takes it eagerly, it is high-value enough. If they sniff and walk away, it is not.
Pair the reward with a marker word like “yes” or a clicker. Say the marker the instant the correct behavior happens, then deliver the treat within one to two seconds. Timing is the whole game — a marker delivered three seconds late teaches nothing useful.
Step 3: Build the “Look at Me” Default Before You Need It
You want a dog that reflexively checks in with you when uncertain, rather than staring down another dog and escalating. Build that reflex in a low-distraction setting first.
Practice at home, three to five minutes per session, twice daily:
- Hold a treat at your eye level and say your dog’s name once.
- The instant their eyes meet yours, mark (“yes”) and reward.
- Repeat 10 times per session.
- Once reliable, add a verbal cue — “watch” or “look” — before the name.
- Practice in the yard, then on a quiet sidewalk with no dogs visible.
Aim for your dog offering eye contact within one second of the cue in a quiet setting before you take this to Step 4. If it takes longer than that at home, keep practicing at home — moving to a park too early is one of the most common reasons the whole plan stalls.
Step 4: The Engage-Disengage Game at Your Working Distance
This is the core of the training, and it is simple. You are teaching your dog that the sight of another dog predicts a treat from you, not a confrontation.
The sequence, repeated in short sessions:
- Position yourself at your working distance from where dogs pass.
- When your dog notices another dog, wait — do not cue anything yet.
- The moment your dog looks away from the other dog and toward you, mark (“yes”) and reward.
- Let them look back at the other dog. Repeat.
- After 10 to 15 repetitions across a session, your dog will start glancing at you immediately after spotting another dog. That glance-back is the behavior you are building.
Sessions should last 5 to 10 minutes. Longer sessions tend to produce fatigue and slip into over-threshold mistakes. Two short sessions per day, five days a week, is a realistic schedule for most owners.
What “working” looks like:
| Observation | What it means | What to do |
|---|---|---|
| Dog looks at other dog, then back at you, takes treat | At or outside threshold | Continue at this distance |
| Dog takes treat but keeps staring, head low | Borderline — approaching threshold | Increase distance by 5–10 paces |
| Dog refuses treat, stiffens, whines, or barks | Inside threshold | Move back immediately, end session calmly |
| Dog checks in before you cue | Excellent — behavior is generalizing | Reduce distance by 3–5 paces next session |
Track your working distance in a notebook or phone note each session. Progress of 3 to 5 paces per week is realistic. Anything faster usually means the dog is being pushed and will regress.
Step 5: Add Forward Motion
Once your dog is reliably checking in at your working distance, start walking. This step is where many plans break, because motion adds difficulty.
How to progress:
- Begin walking parallel to the passing dogs, at your working distance, with your dog on a loose leash.
- Reward every check-in while moving. Do not stop walking to deliver the treat — deliver it while your feet keep moving.
- Keep sessions to 5 minutes.
- If your dog’s check-ins drop below roughly one every 10 to 15 seconds, you are too close or moving too fast. Back off.
Use a front-clip harness or a flat collar with a 1.5 to 2-meter leash. A long line is useful for Step 6 but not for close-passing work — you need a leash short enough to prevent a lunge from becoming a full-speed charge.
Step 6: Close the Distance in Deliberate Increments
This is the slow, patient part, and it is where most beginners get impatient and undo their progress. Reduce distance only when your dog’s check-ins are consistent across two consecutive sessions at the current distance.
Realistic progression targets for a moderately reactive dog:
- Week 1–2: working distance of 20 to 30 meters, stationary.
- Week 3–4: working distance of 15 to 20 meters, walking parallel.
- Week 5–6: working distance of 10 to 15 meters, walking parallel.
- Week 7–8: working distance of 5 to 10 meters, walking parallel and occasional head-on passes.
These are illustrative ranges, not guarantees. Dogs vary enormously. A dog that has practiced lunging for two years will take longer than a dog that started reacting last month. Do not compare your timeline to anyone else’s.
If your dog regresses at a closer distance: go back to the previous distance for one full week, then try again. Do not push through a bad session. A single over-threshold event can set progress back several days, while a single step back costs you one week at most.
Step 7: Handle Head-On Passes and Unexpected Dogs
The hardest scenario is a dog approaching directly on a narrow path with no room to increase distance. Here is how to manage it before and during the pass.
Before the pass:
- Scan ahead constantly. Spot the other dog at 30-plus meters, not 5.
- Create distance by stepping off the path, turning around, or crossing the street. You are allowed to change the route.
- Put your dog on the far side of your body from the approaching dog.
- Have high-value treats ready in your hand.
During the pass:
- Cue “watch” about 3 to 5 meters before the other dog closes.
- Feed continuously, one small piece every half-second, until the other dog has passed.
- Keep walking at a normal pace. Do not stop or freeze — freezing telegraphs tension to your dog.
- Do not let your dog greet the passing dog. Greetings on leash are one of the most reliable triggers for reactive behavior.
If your dog explodes anyway: stay calm, turn and walk away from the trigger without jerking the leash, and increase distance. End the session on a calm note in a quiet spot. Your dog is not being defiant — they were over threshold and could not process the cue. Note the distance at which it happened and build in a bigger buffer next time.
Step 8: Recover From Setbacks Without Losing Progress
Setbacks are normal, not a sign of failure. A dog that was calm at 15 meters last week may be reactive at 15 meters this week because of a stressful vet visit, a change in weather, or simply a bad night’s sleep. Treat the setback as information, not a verdict.
A practical recovery checklist:
- Drop back to the last distance where your dog was successful, for at least three sessions.
- Remove one variable at a time — distance, motion, or speed of passing dog.
- Check basic needs: has your dog had enough sleep, exercise, and food before sessions? A hungry or overtired dog is a reactive dog.
- Do not use punishment corrections (leash jerks, prong collars, yelling). These suppress the visible behavior in the moment while increasing the underlying stress, which typically makes the problem worse over weeks.
- If setbacks keep repeating at the same distance after two weeks of consistent practice, consider consulting a qualified trainer — some cases need a tailored behavior-modification plan.
Common Beginner Mistakes and How to Fix Them
| Mistake | Why it backfires | Fix |
|---|---|---|
| Starting too close to other dogs | Dog is over threshold and cannot learn | Move back 10–20 meters; find a quieter spot |
| Practicing for 30+ minute sessions | Fatigue causes mistakes and regression | Keep sessions to 5–10 minutes, twice daily |
| Using low-value treats | Reward cannot compete with the distraction | Switch to chicken, cheese, or liver |
| Repeating the cue when the dog ignores it | Teaches the dog the cue is optional | Say it once; if ignored, increase distance and end the attempt |
| Letting the dog greet every passing dog | Leash greetings are unpredictable and increase arousal | Do not allow on-leash greetings during training |
| Using a tight leash to steer the dog | Tension signals danger to the dog | Keep the leash loose; use distance, not pull, to manage |
| Skipping the at-home “watch” buildup | Cue fails under real-world distraction | Practice “watch” at home until reliable before going to the park |
What to Do Next: Your First Week
You have everything you need to begin. Here is a concrete plan for the next seven days.
- Day 1: Practice “watch” at home, 10 repetitions, twice. Find a training spot where dogs pass at 25 to 30 meters.
- Day 2: First park session — stationary engage-disengage only, 5 minutes. Note your working distance.
- Day 3: Repeat Day 2. Note check-in frequency.
- Day 4: Rest from park work. Practice “watch” at home and on a quiet sidewalk.
- Day 5: Park session, stationary engage-disengage, 8 minutes. If check-ins are consistent, add 3 paces of walking.
- Day 6: Park session, walking parallel at working distance, 5 to 8 minutes.
- Day 7: Rest and review your notes. Decide whether to reduce distance 3 to 5 paces for the coming week, or hold at the current distance for another week.
Two details to get right from day one: keep the leash loose at all times, and end every session while your dog is still calm and successful — never because they just blew up. Ending on success is what makes the next session easier.
If you are also working on general leash manners, pair this plan with our guide to leash training your dog to walk politely around distractions. For the recall side of off-leash reliability, see teaching recall to your dog: a beginner step-by-step tutorial.
Do you have a specific scenario that keeps causing trouble — a narrow sidewalk, a dog park entrance, or an off-leash dog in the neighborhood? Leave a comment describing the setup and where your dog’s threshold sits, and you can be pointed toward the closest match in the steps above to focus on next.