Walking on a harness without pulling means teaching your dog that forward movement happens only while the leash stays slack — and that a taut leash reliably stops the walk. A harness is the equipment that makes this training safer and more effective, but it is not the training itself. Owners who expect the harness to do the work typically end up with a dog who pulls just as hard, only in different hardware.
This guide walks through the process in order: choosing the right harness, fitting it correctly, introducing it without stress, and then running a structured training progression over roughly four to six weeks. Each step includes a checkpoint so you know when your dog is ready to move on rather than guessing.
Step 1: Choose the Right Harness Type
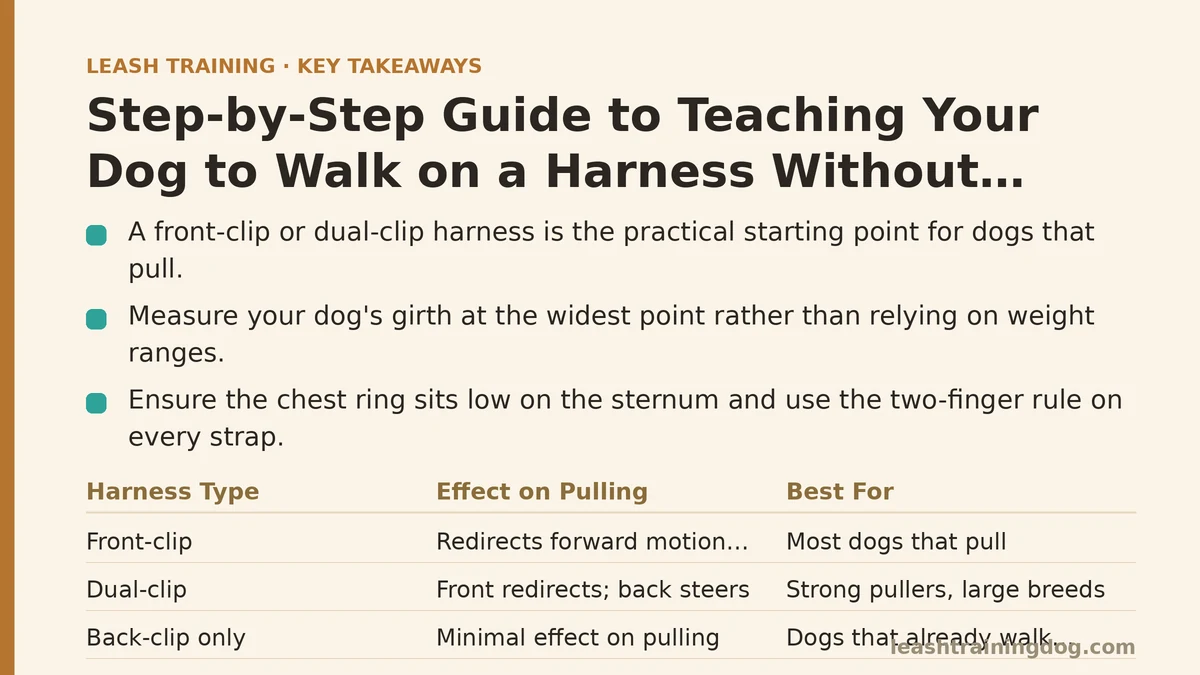
Front-clip harnesses redirect forward momentum sideways at the chest, which makes pulling feel less rewarding to most dogs. Back-clip harnesses spread pressure across the chest but do little to discourage pulling on their own. For a dog that pulls, a front-clip or dual-clip design is the practical starting point.
| Harness Type | How It Affects Pulling | Typical Price | Best For |
|---|---|---|---|
| Front-clip | Redirects forward motion sideways at the chest | $25–55 | Most dogs that pull, beginners |
| Dual-clip (front + back) | Front clip redirects; back clip steers | $35–60 | Strong pullers, large breeds |
| Back-clip only | Minimal effect on pulling; spreads pressure | $20–50 | Dogs that already walk politely |
| Back-clip with handle | No pulling correction; gives physical control | $50–70 | Giant breeds, safety situations |
Two practical checks before buying:
- Measure your dog’s girth at the widest point of the ribcage and compare it to the manufacturer’s size chart, not the weight range. Weight ranges are a rough guide at best.
- Confirm the chest ring sits low on the sternum, not up near the throat. A front clip positioned too high loses most of its redirection effect.
If your dog is under 15 kilograms and pulls lightly, a budget front-clip harness is usually sufficient. Above 30 kilograms or with a dog that leans hard into the leash, budget hardware and thinner webbing wear out quickly — expect six to eight months of heavy daily use before replacement becomes necessary.
Step 2: Fit the Harness Properly
A harness that fits badly performs worse than a flat collar. Two common failures account for most of the problems: straps tight enough to restrict the shoulder, and a chest ring that drifts sideways mid-walk.
Work through this checklist with the harness on your dog:
- Two-finger rule on every strap. You should be able to slide two fingers under each strap without forcing. Tighter restricts movement; looser lets the harness shift.
- Chest ring centered on the sternum. Walk your dog ten steps and check. If the ring has drifted toward a shoulder, tighten the shoulder or belly straps slightly on that side.
- Watch the front legs from behind. The stride should look full and unrestricted. Any hitch or shortened step means the chest strap is sitting too tight.
- Check the belly strap position. On short-torsoed breeds it can sit awkwardly; if your dog shows discomfort, try a different model rather than forcing the fit.
Refit the harness once a month for the first few months, especially with puppies or dogs losing weight — a harness that fit in spring may be loose by autumn.
Step 3: Introduce the Harness Without a Walk
Putting a harness on for the first time and immediately heading out the door creates an association between the harness and excitement, which makes pulling harder to address. Spend two or three short sessions on neutral introduction first.
- Session one (2–3 minutes): show the harness, let your dog sniff it, then put it on with the leash attached but do nothing else. Treats for calm behaviour, then remove it.
- Session two (3–5 minutes): harness on, a few easy cues your dog already knows (sit, touch), treats, then off.
- Session three: harness on, walk around the living room or garden for two minutes with no pulling expectations, then off.
Checkpoint: your dog accepts the harness without freezing, scratching at it, or shutting down. If they are still uncomfortable, keep sessions short and repeat until they settle — a dog that dislikes the harness will not train well in it.
Step 4: Teach the “Slack Leash” Rule Indoors
Loose leash walking is a rule your dog learns: the walk continues while the leash is slack, and stops when it tightens. Indoors or in a fenced yard, with no distractions, is where that rule gets established.
The mechanical sequence matters more than any command:
- Hold the leash with a relaxed arm and a small loop of slack.
- When your dog moves forward and the leash goes taut, stop walking immediately and stand still. Do not pull back and do not repeat a command.
- Wait. Most dogs will look back, step toward you, or turn around within a few seconds.
- The moment the leash goes slack, mark it (a calm “yes” or a click) and start walking again.
- Repeat. Every taut leash produces a stop; every slack leash produces forward movement.
Run this for 10–15 minutes per session, two or three times a day. Keep the environment boring so the lesson is about the leash, not about squirrels.
Checkpoint: your dog can walk ten to fifteen steps in a row on a slack leash indoors, on three separate occasions, before you move outdoors.
Step 5: Move the Training Outdoors Gradually
The outdoor world adds smells, other dogs, and traffic. Add one new environment at a time and stay there for at least a week before changing anything.
A practical progression:
- Quiet sidewalk or driveway — low traffic, few dogs.
- Park path at an off-peak time — more smells, people at a distance.
- Street with occasional dogs at 30–50 metres — moderate distraction.
- Busier park or walking route — higher distraction, still on leash.
At each new level, the same rule applies: taut leash stops the walk, slack leash restarts it. Sessions of 10–15 minutes are enough. If your dog ignores the rule more than twice in a session, you have moved up a level too fast — return to the previous environment for a few more days.
Step 6: Handle the Common Setbacks
Progress is rarely linear, and three setbacks account for most of the frustration owners report.
Your dog pulls backward or freezes. This usually means the harness fit is off or the environment is too much. Stop, check the fit, and lower the distraction level. Do not drag your dog forward.
Your dog pulls toward another dog. Turn and walk away from the trigger, then reward any slack leash once you have distance. Working at 30–50 metres is common at the start; close that distance gradually as your dog’s response improves.
Your dog pulls only on the way home. Going home is highly rewarding, which makes it hard to train against. Practice the same rule on outbound routes and on the return, but expect the return leg to take longer. Stopping every few steps on the way home for two weeks commonly shortens the pulling over time.
If a single session goes badly, end it and reset the next day rather than pushing through. Two or three repetitions of a failed pattern teach more than one good session can undo.
Step 7: Measure Progress and Set a Timeline
Most dogs make usable progress on leash manners in four to six weeks with 10–20 minutes of daily practice. Treat that as a typical range, not a promise — dogs with long-standing pulling habits and high-distraction environments commonly need longer.
Track progress with a simple count at the end of each session:
| Checkpoint | What to Count | Target Before Advancing |
|---|---|---|
| Indoor slack leash | Steps on slack leash per session | 10–15 consecutive steps |
| Quiet outdoor route | Number of taut-leash stops | 5 or fewer per 10-minute walk |
| Moderate distraction | Recovery time after a stop | 5 seconds or less |
| Higher distraction | Ignored slack rule | No more than 2 per session |
Once your dog reaches the higher-distraction level with those numbers, you are in maintenance rather than training. Continue rewarding slack leash at least intermittently, and keep the harness fitted well — the equipment and the training work together, and neither replaces the other.
What to Do Today
Pick one action and start there:
- If you have no harness yet: measure your dog’s girth, choose a front-clip or dual-clip model, and make sure the chest ring sits low on the sternum.
- If you have a harness but have not checked the fit: run the two-finger test on every strap and watch your dog’s stride for a full ten steps.
- If your dog is already fitted: run Step 4 indoors today for ten minutes. One session is enough to begin.
If your dog shows signs of pain, lameness, or severe anxiety around the harness or walks, stop and consult a veterinarian or a qualified trainer before continuing — those issues are outside what a training progression can fix.
Related guides: Best Harness for Dogs That Pull: Top 5 Compared After Real-World Testing, Leash Training Your Dog to Walk Politely Around Distractions, and How to Teach Heel Command to Your Dog: The Method That Builds Real Precision.