By the end of this guide, you will know exactly how to choose a long line, fit it to your dog, and run your first four weeks of sessions so that pulling fades and checking in with you becomes the default habit. You will also know the specific situations where a long line is the wrong tool, so you do not create a problem you then have to undo.
This is a beginner tutorial. It assumes your dog already wears a harness or collar comfortably and that you can walk them on a standard 2 meter leash, even if that walk involves a lot of pulling.
What a Long Line Is and Why It Helps
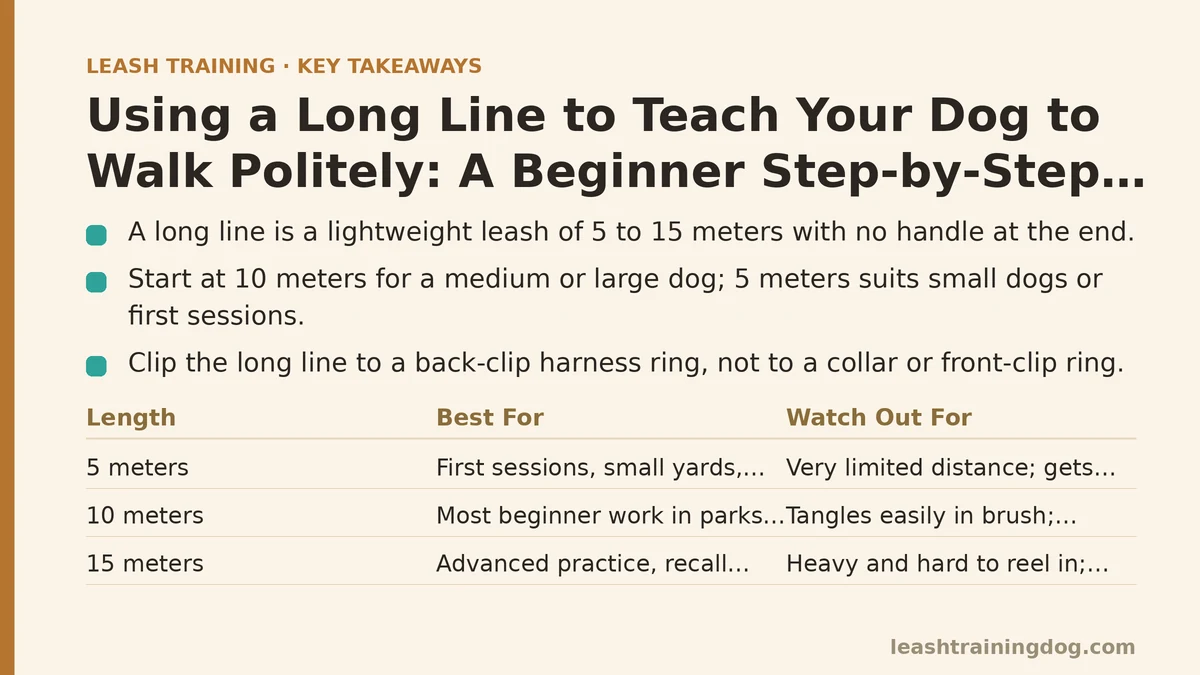
A long line is a lightweight leash, usually between 5 and 15 meters, with no handle at the end — often just a small loop or nothing at all. The missing handle is the point. If you have a loop hanging from your wrist, you will instinctively grab for it, and the line stops being a training tool.
The training value comes from three things happening at once:
- Your dog gets real distance and real choice, which is closer to how off-leash walking feels to them.
- You keep a physical connection, so you can prevent a failed recall or a bolt into the road.
- You get a chance to reinforce a check-in — your dog glancing back at you — dozens of times per session instead of the handful of chances a short leash allows.
For dogs that pull, the long line lets you reward the behavior you want (loose line, checking in) without constantly managing pressure. On a short leash, most owners end up in an accidental tug-of-war for the entire walk. On a long line, the line is usually slack, and your dog learns what slack feels like.
Choosing Your Equipment: Five Decisions to Make Before You Start
Work through these in order. Each one affects the next.
1. Length
| Line Length | Best For | Watch Out For |
|---|---|---|
| 5 meters | First sessions, small yards, dogs under 10 kg | Very limited distance; gets tight fast with a fast dog |
| 10 meters | Most beginner work in parks and quiet fields | Tangles easily in brush; needs two hands to manage |
| 15 meters | Advanced practice, recall work in large open spaces | Heavy and hard to reel in; not ideal for a first-timer |
Start at 10 meters for a medium or large dog. For a small dog or a first-ever session, 5 meters is plenty.
2. Material
Biothane and coated webbing slide through grass and stay cleaner than plain nylon. Nylon is cheaper but soaks up water and dirt, and a wet nylon line is heavy and unpleasant to hold. If your local conditions are muddy or you walk near water regularly, the coated options are worth the extra cost, typically $20 to $40 versus $10 to $15 for basic nylon.
3. Width and Weight
A 15 meter line that is 25 mm wide resists tangling and is easier to grip, but it is bulky. A 10 mm line is lighter and easier to manage but will cut into your hands if your dog bolts. For a beginner, 20 mm at 10 meters is a good compromise.
4. Attachment Point
Clip the line to a back-clip harness ring, not to a collar and not to a front-clip ring. A back attachment keeps the line out of your dog’s front legs, which is where most long line tangles start. Front-clip rings on a long line tend to turn your dog sideways every time the line goes taut.
5. Gloves
Buy a pair of thin leather or gripping work gloves. This is not optional. A dog hitting the end of a 10 meter line at speed will pull a bare hand hard enough to cause a friction burn or rope burn in under a second. Gloves cost $10 to $20 and prevent a bad afternoon for both of you.
Setting Up Before the First Session
Do these five setup steps once. Skipping any of them is the most common reason first sessions go badly.
- Check the clip. Open and close the snap hook several times. If it feels loose or sticks, do not use the line.
- Pick a location. A fenced field or a quiet park with clear sightlines and no roads within 20 meters of your practice area.
- Know your boundaries. Mentally mark a perimeter your dog cannot cross — a fence line, a hedge, a tree line. The long line is a backup, not the primary containment.
- Decide your marker word. Pick a single word like “yes” or a clicker. Use it the instant your dog does the right thing. One word only.
- Load your pockets. Small, high-value treats you can deliver quickly. Pea-sized pieces, and around 30 to 50 per session.
Leave the standard 2 meter leash at home for these sessions, or clip it to your belt unused. Two leashes in your hands at once is a mess to untangle mid-session.
The Five Progressive Steps
Work through these in order. Do not move to the next step until the current one is reliable at least three sessions in a row.
Step 1: Let the Line Trail and Follow
Clip the long line to the back harness ring. Do not pick it up.
Let your dog drag the line and explore the space for 5 to 10 minutes. Your job is to follow at a comfortable distance, keep the line from snagging, and reward every voluntary glance back at you.
Do not call your dog. Do not say their name. Let them learn that you are simply part of the environment, and that checking in on you is a free action that earns a treat.
Common mistake: holding the line tightly during this step. If your dog feels tension the whole time, they will learn that the line means restriction, and you lose the main benefit.
Step 2: Introduce Gentle Pressure and Release
Now pick up the line. Hold it loosely — a light loop in your hand, not wrapped.
Walk with your dog for 2 to 3 minutes. When the line goes taut, stop walking. Wait. Do not pull, do not call, do not jerk. When your dog turns toward you or takes a step back toward you, the line goes slack, and you immediately mark with your word and reward.
Then resume walking.
What you are teaching: tension on the line means the walk pauses. Slack on the line means the walk continues. Repeat this 20 to 30 times per session. In practice, within a week or two most dogs start to figure out that pulling stops forward motion, and they start to self-correct before the line even goes taut.
Common mistake: pulling back. A tug-of-war on a long line is very easy to start and very hard to stop. If your dog is leaning hard into the line and you are leaning back, you have both lost. Drop the tension, wait for any small give, and reward even a slight turn of the head.
Step 3: Reward Check-Ins Aggressively
For this step, you are the treat dispenser. Every time your dog turns their head toward you, mark and reward. Every time.
Aim for 40 to 60 rewards in a 15 minute session. Yes, that sounds like a lot. That is the point. You are running a slot machine where the payout every time your dog looks at you is food.
Vary how you deliver the reward. Sometimes hand it directly. Sometimes toss it near your feet so your dog runs back to you. Sometimes walk a few steps away and reward them when they catch up.
After 5 to 8 sessions of this, most dogs start to orient toward their handler more often than they orient away. That shift is the foundation everything else builds on.
Step 4: Add Direction Changes and Speed Changes
Your dog now checks in and respects the tension rule. Start adding unpredictability:
- Turn around and walk the other way. Mark and reward when your dog catches up and the line goes slack.
- Speed up for ten paces, then slow down.
- Stop suddenly and wait for your dog to check in.
- Step off to the side and let your dog come to you rather than following them.
These changes teach your dog that paying attention to your movement is worthwhile. A dog that never watches you will always be surprised when you change direction, and a surprised dog at the end of a tight line feels a hard jolt.
Aim for 10 to 15 direction changes per session. The goal is not to trick your dog. It is to make staying near you the more rewarding option.
Step 5: Practice Loose-Leash Walking on a Short Leash Again
After 2 to 3 weeks on the long line, take the harness and clip on your standard 2 meter leash. Walk the same paths you have been using on the long line.
If you have done steps 1 through 4, this usually feels different from your earlier walks. There is less tension. Your dog checks in more. The walk has some slack in it.
If it does not feel different, that is not a failure — it means the foundation needs more time. Go back to two or three long line sessions per week for another 2 weeks, then try again.
A Checklist for Every Session
Print this or write it on your phone. Run through it before you clip the line on.
- Location has clear sightlines and no road within 20 meters
- Long line checked for wear at the clip and along its length
- Back-clip harness on and fitted with two-finger rule
- Gloves on
- Treats accessible in an easy-reach pocket
- One marker word chosen and consistent with last session
- Session length set — 10 to 15 minutes, no more
- End on a success, not on a struggle
Common Mistakes and How to Recover
The line tangles around your legs or your dog’s legs. Stop. Do not yank it free. Call your dog close with a cheerful voice, reward them for arriving, then untangle without tension. If tangling happens repeatedly, switch to a shorter line and a wider open space until you both have the routine down.
Your dog bolts and hits the end of the line at speed. Do not brace and pull. Turn your body in the direction your dog is heading and let the line play out for a step or two, then slow them by absorbing the momentum with your arm, not by locking your grip. Reward the moment they turn back. Rushing this step causes soft tissue injuries in both dogs and handlers.
Your dog stops moving and refuses to walk. Do not pull. Sit or crouch nearby. Wait. Reward the first step toward you. This is often a confidence issue, especially in a new space, and pulling makes it worse.
You find yourself calling your dog repeatedly and getting ignored. Put the long line down and go back to step 1 for a session or two. Every ignored recall teaches your dog that the word is optional.
Your dog regresses after a good week. Normal. Go back one step for one session, then try the harder step again. Regression usually means you moved up too fast, not that the training failed.
If This Is Not Working: Three Troubleshooting Branches
- If your dog pulls constantly on the long line, no matter what you do: the location is too exciting. Move to a quieter space, and build up in a smaller, calmer area for 2 weeks before trying the park again.
- If your dog is fine on the long line but pulls hard as soon as the short leash appears: spend more sessions on step 5, alternating short and long leash within a single session. Clip the short leash on while the long line is still attached, use the long line for the harder moments, then remove the short leash and finish on the long line.
- If you feel unsafe handling the line or your dog is very strong: use a shorter line, work with a professional trainer for at least a few sessions, and consider a front-clip harness for the short leash portions while you build the long line habit.
Equipment Summary
| Item | Typical Cost | Essential? | Notes |
|---|---|---|---|
| 10 m long line (20 mm) | $15–$30 | Yes | Coated webbing or biothane last longer |
| Back-clip harness | $25–$55 | Yes | Fitted with two-finger rule |
| Gripping gloves | $10–$20 | Yes | Prevents rope burn |
| High-value treats | $5–$15 | Yes | Pea-sized, 30–50 per session |
| Clicker (optional) | $2–$5 | No | Use only if a word marker feels slow |
| 15 m line for later stages | $30–$45 | No | Only after 10 m is reliable |
Your First Session, in Order
If you are starting today, here is exactly what to do:
- Pick up or order a 10 meter coated long line and a pair of gripping gloves.
- Fit your dog’s back-clip harness using the two-finger rule on every strap.
- Choose one marker word and stick to it for a full month.
- Find a fenced or clearly bounded field with no road within 20 meters.
- Run step 1 for 10 minutes.
- End the session while things are still going well.
- Log how many voluntary check-ins your dog offered. Repeat 3 to 4 times per week.
After four weeks of consistent sessions, most dogs start walking on a normal leash with noticeably less pulling. If pulling persists after that point, work with a qualified trainer who can see your dog and your handling in person — a short run of professional sessions is often faster than months of trial and error on your own.
Related guides: Common Recall Training Mistakes That Sabotage Off-Leash Progress, Best Harness for Dogs That Pull: Top 5 Compared, and Leash Training Your Dog to Walk Politely Around Distractions.